Masking
Masks let you adjust part of a photo instead of the whole thing — darken a bright sky, brighten a face, warm up a foreground. Open a photo and click Mask in the right-hand rail.
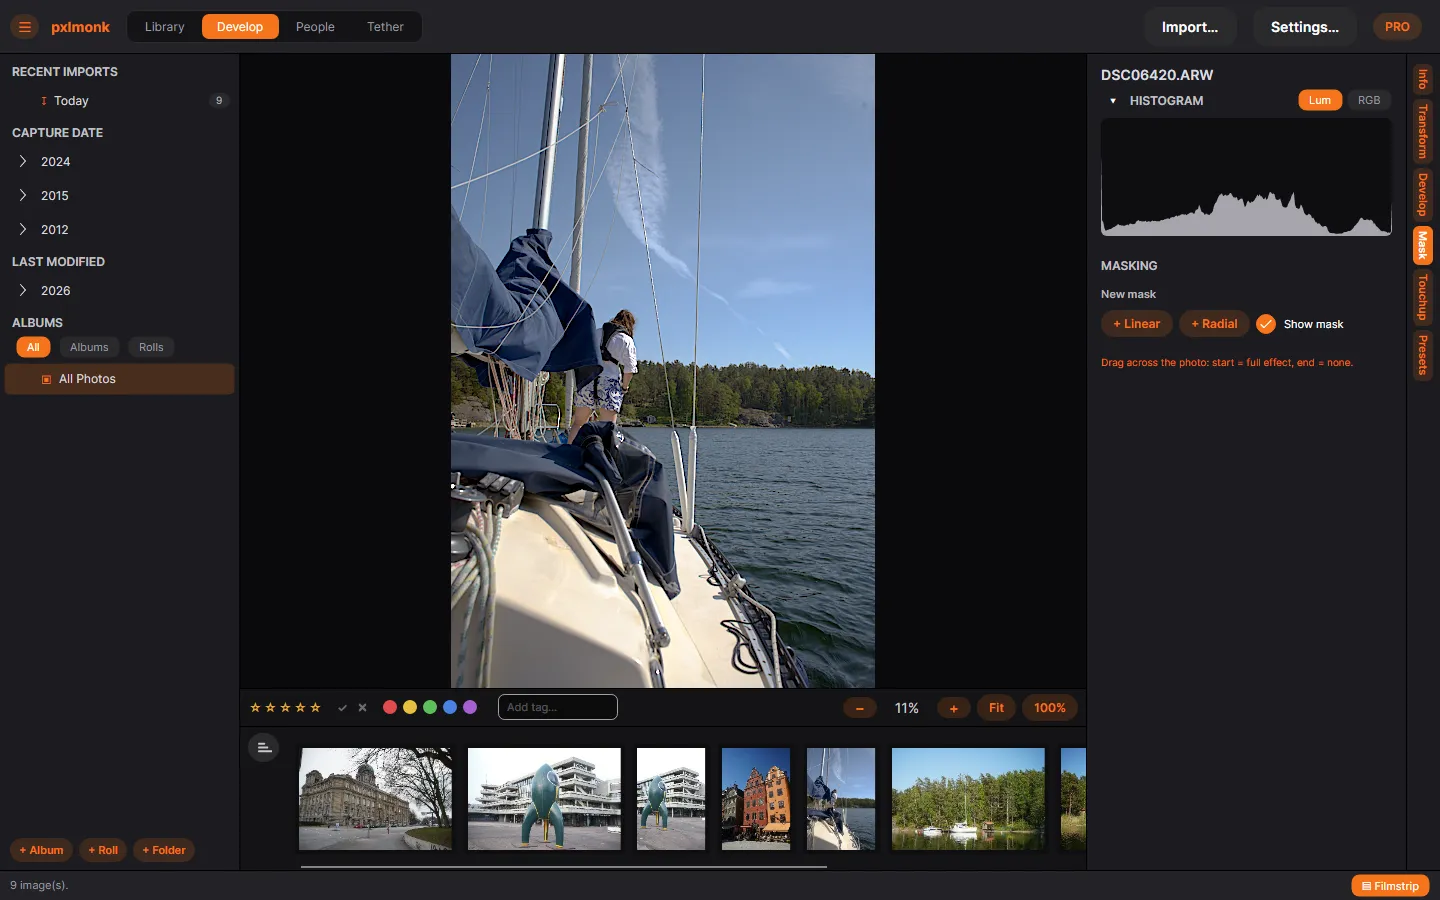
Create a mask
Section titled “Create a mask”Under New mask, pick a shape and drag on the photo:
- + Linear — a linear gradient. Drag across the photo: the effect is full at the start of the drag and fades to nothing at the end.
- + Radial — a circular/elliptical mask; drag to place and size it.
Show mask overlays the selected area so you can see exactly what it covers.
Adjust the masked area
Section titled “Adjust the masked area”With a mask selected, its adjustment sliders appear — Exposure, Contrast, Highlights, Shadows, Temp, Tint, Saturation and Strength. They apply only inside the mask.
Combine parts
Section titled “Combine parts”A mask can be made of several parts. Add more parts in add or subtract mode to extend or cut away from the selection, adjust each part’s Feather (edge softness), or invert a part. This lets you build up precise selections from simple shapes.
Next steps
Section titled “Next steps”- Presets — save a look and reuse it.
- Developing your photos — back to the full editor.