Presets
A preset stores a set of develop settings as a named look you can apply to any photo in one click. Open a photo and click Presets in the right-hand rail.
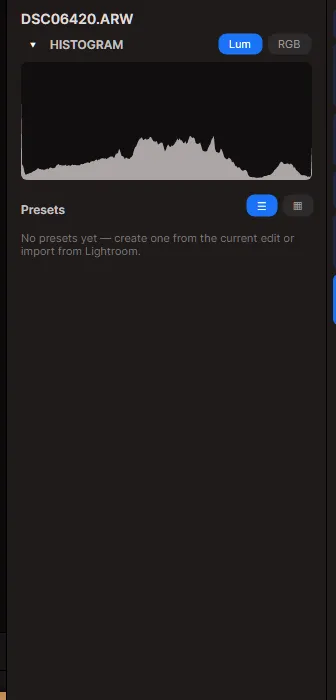
Create a preset
Section titled “Create a preset”Develop a photo the way you like it, then create a preset from those settings. Give it a name and a group (to keep your presets organised), and choose which parts of the edit to include — for example only the colour and tone, or the whole look. The new preset is saved to your library and available on every photo.
Apply a preset
Section titled “Apply a preset”With a photo open, apply a saved preset to it — pxlmonk copies the stored settings onto the photo, which you can then fine-tune further. Switch the panel between a list and a thumbnail view with the buttons in the header.
Import Lightroom presets
Section titled “Import Lightroom presets”Already have presets from Lightroom? Import a .xmp preset and pxlmonk converts it into
a pxlmonk preset you can apply like any other.
Next steps
Section titled “Next steps”- White balance & tone — the settings a preset captures.
- Exporting — save the finished photo.