White balance & tone
The Develop tab holds pxlmonk’s core adjustments. For most photos, white balance and tone are all you need to get a great result. Open a photo, then click Develop in the right-hand rail.
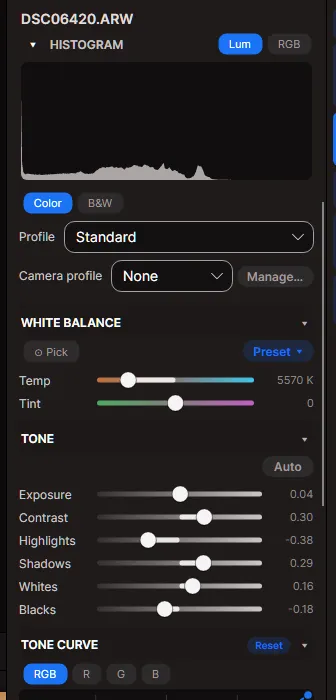
Profile
Section titled “Profile”At the top, choose how the RAW is interpreted:
- Standard — a pleasing default rendering.
- Linear — a flat starting point for full manual control.
- Camera profile — apply a DCP camera profile (embedded, or one from your library) to match a camera look.
White balance
Section titled “White balance”Neutralise a colour cast:
- Pick — click a neutral grey or white area in the photo and pxlmonk sets the white balance from it.
- Preset — choose As shot, Daylight, Cloudy, Shade, Tungsten and so on.
- Temp and Tint — fine-tune manually (warm/cool and green/magenta).
Shape brightness and contrast with the tone sliders:
- Exposure — overall brightness.
- Contrast — global contrast.
- Highlights / Shadows — recover blown highlights, lift dark areas.
- Whites / Blacks — set the white and black points.
Auto sets a balanced starting point you can adjust from. Double-click any slider to reset it. For finer control, use the Tone curve below.
Next steps
Section titled “Next steps”- Exporting — save your finished photo.