Comparing photos
The View menu in the zoom bar decides what the editor shows: one photo, one photo against a baseline, or two different photos next to each other.
Before and after
Section titled “Before and after”Choose Before/After to check your edits against a baseline — what the photo looked like before you changed it.
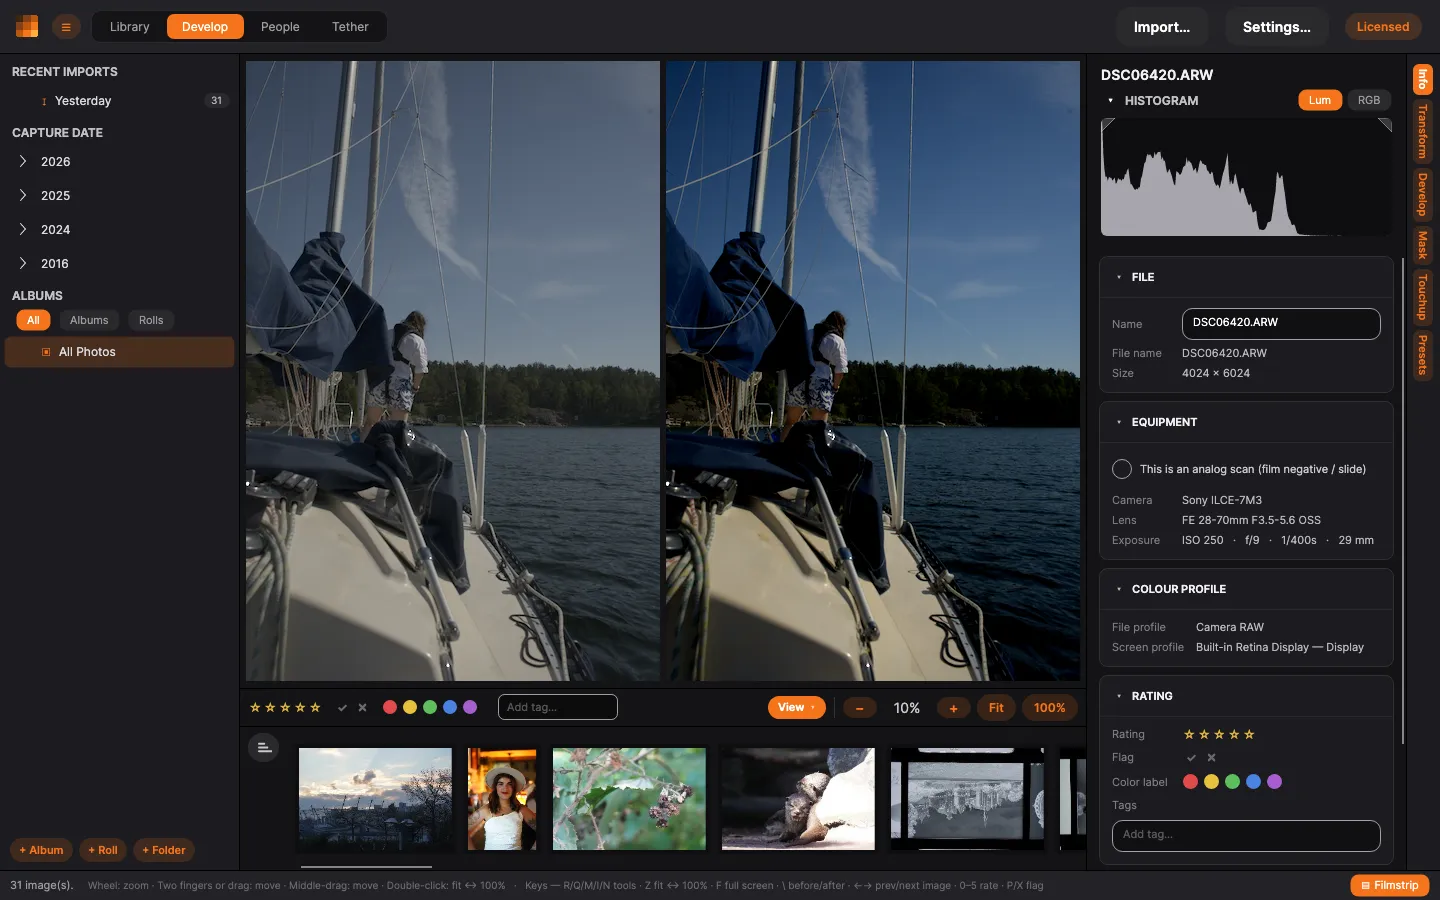
Two baselines are offered:
- Unedited — the photo with every creative adjustment removed, but the conversion kept: a film negative stays a positive, a RAW keeps its white balance, lens corrections and noise reduction stay on. Only the edits you made come off. This is the default.
- At open — the state the photo was in when you opened it this session. Answers “what have I changed since I sat down”.
Both render at the current crop and rotation, so the two versions line up pixel for pixel — you are comparing the adjustments, not the framing.
Two photos
Section titled “Two photos”Choose Two images to open a second photo beside the one you’re editing — for picking the keeper from a burst, or matching a look across a set.
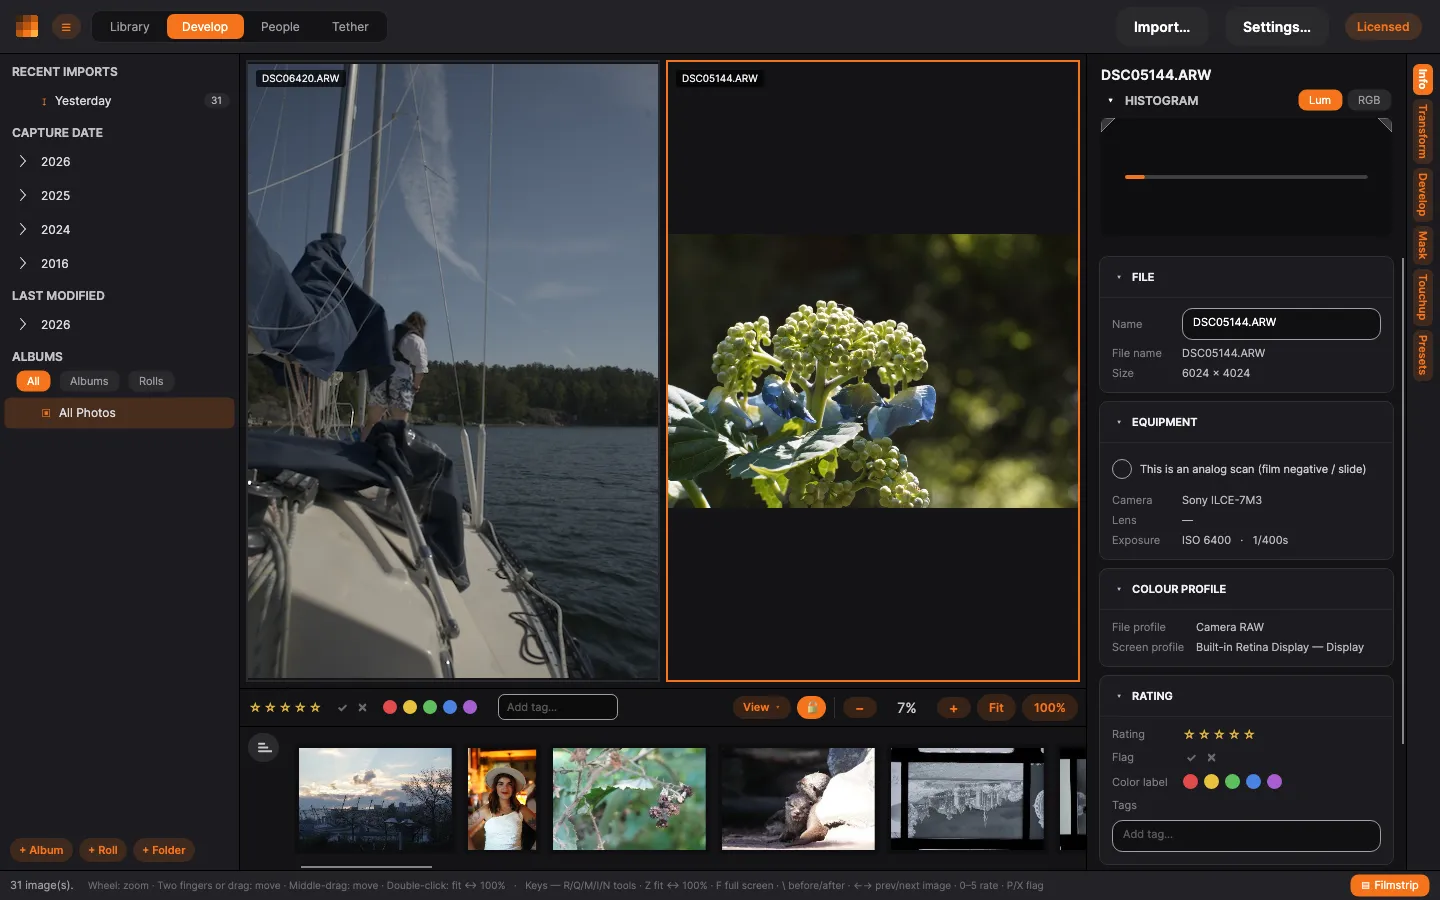
The photo you were editing stays put on the left as a reference, and the next photo in the filmstrip opens on the right. You can also right-click any photo in the filmstrip, the grid or an album and choose Open for comparison to put that specific photo in the second pane.
One pane is active. It carries a highlighted border and behaves exactly like the normal editing view: the sliders, presets and undo all act on it, and the panels show its values. The other pane is a reference — visible and rendered, but not edited. Click a pane to make it active; its settings and history come with it.
Clicking a photo in the filmstrip — or opening one from the library — replaces the active pane only, so your reference stays on screen while you page through candidates.
Layouts
Section titled “Layouts”Both comparisons offer the same two layouts, from the same menu:
- Side by side — two panes, one photo in each.
- Wipe — both photos over the full frame, with a seam you drag across to reveal one over the other.
Zoom and pan
Section titled “Zoom and pan”While comparing, zooming and panning move both photos together, so you’re always looking at the same detail in each — which is the point when you’re choosing between two frames of the same scene.
The padlock in the zoom bar breaks that coupling, letting you frame each photo on its own — useful when the two are cropped differently and you want to line up a detail by hand. Click a pane first to choose which one your zooming moves. Locking it again snaps the reference back onto the active photo.
Next steps
Section titled “Next steps”- Developing your photos — the editor and its tabs.
- Presets — save a look and apply it to the photo you’re comparing against.