Retouching
The Touchup tab removes small distractions — sensor dust, blemishes, a stray object — non-destructively. Open a photo and click Touchup in the right-hand rail.
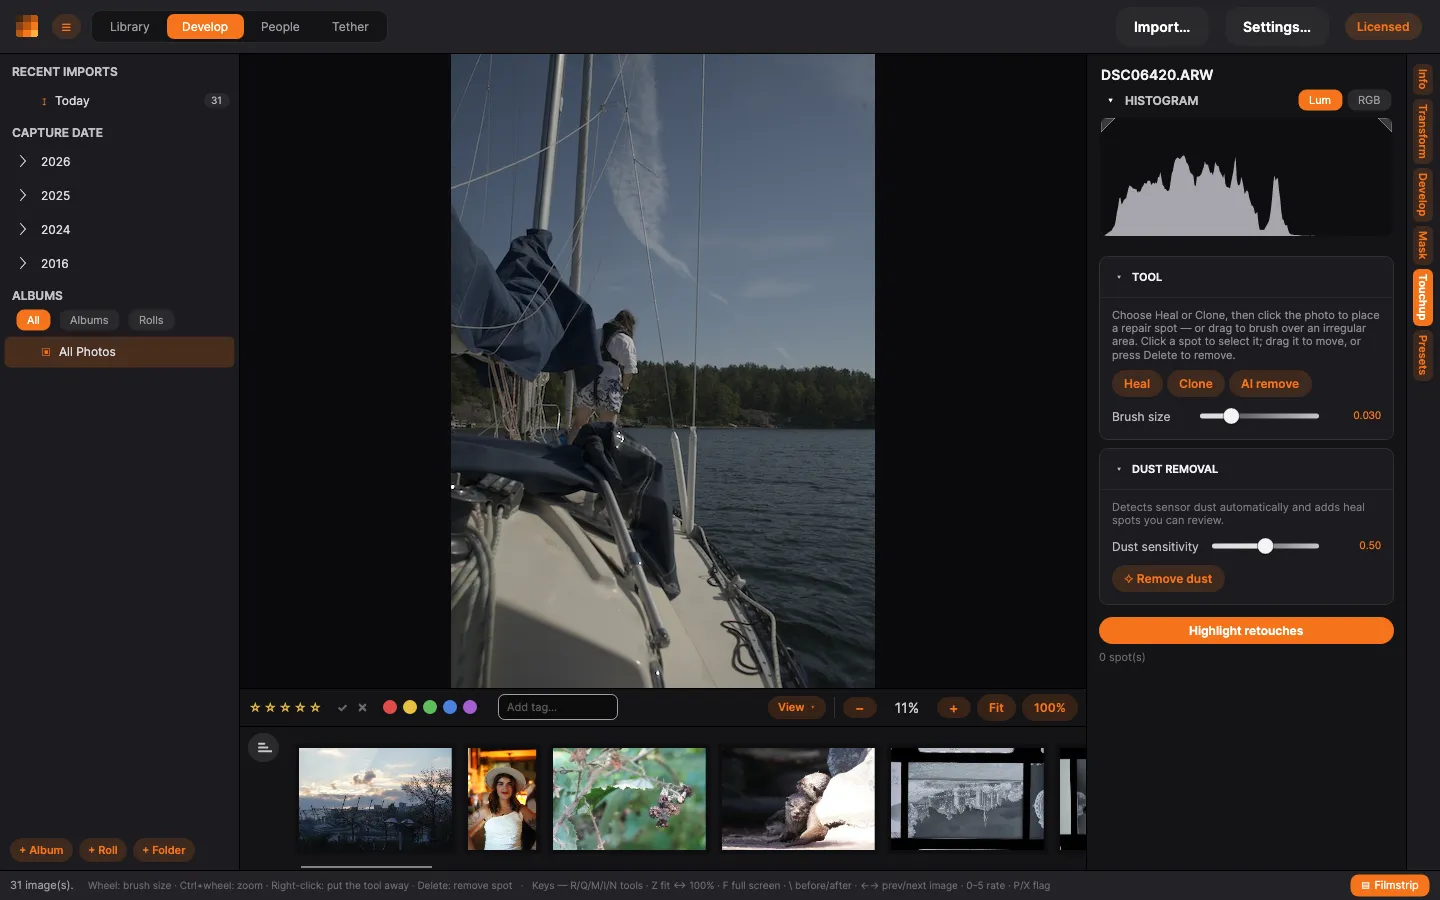
Heal, clone & AI remove
Section titled “Heal, clone & AI remove”Pick a Mode, then click the photo to place a repair spot, or drag to brush over an irregular area:
- Heal — blends the repair with the surrounding texture and colour. Best for dust and blemishes.
- Clone — copies pixels straight from another part of the photo.
- AI remove — fills the area using an on-device inpainting model. Best for larger objects.
Adjust a repair
Section titled “Adjust a repair”Click a spot to select it, then drag it to move it, or press Delete to remove it. For the selected spot you can tune its Feather (edge softness) and Opacity. Set the Brush size with the slider, or scroll the mouse wheel over the photo.
Automatic dust removal
Section titled “Automatic dust removal”Under Auto dust removal, click Remove dust and PxlMonk detects sensor dust across the photo and adds heal spots you can review. Raise Dust sensitivity to catch more, lower it to catch less; Clear dust removes the auto-added spots — but only the ones you haven’t touched. Adjust a detected spot in any way, and it counts as yours and stays.
On a very large photo the scan takes a few seconds. Click Cancel beside the progress bar to stop it — nothing is added, and the photo is left exactly as it was. The same applies to AI remove: while the fill is being computed you can cancel it from the panel over the photo. Cancelling only stops the computation; the repair itself stays until you undo it.
Highlight retouches overlays marks on the areas you’ve repaired so you can see them at a glance — it’s a preview aid only and doesn’t affect the export.