Managing LUTs & profiles
PxlMonk keeps your LUTs and camera profiles in central libraries so they’re available on every photo. You manage each from its own dialog, opened from the Develop panel.
The LUT library
Section titled “The LUT library”Click Manage LUTs next to the LUT picker to open the library.
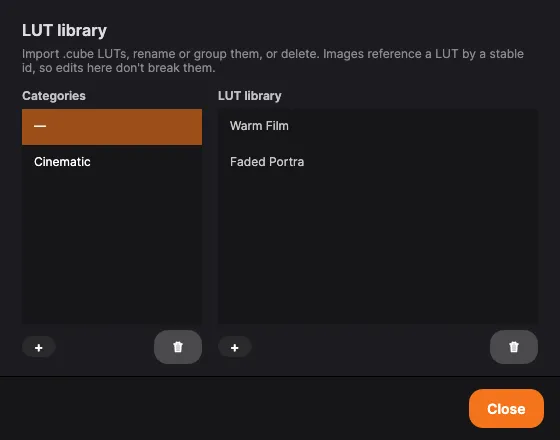
Photos reference a LUT by a stable id, so renaming, moving or regrouping a LUT here never breaks the look of a photo that already uses it.
Categories
Section titled “Categories”The left column groups your LUTs. Add a category with +, rename or delete it via double-click or the right-click menu. The — entry is the ungrouped root; it can’t be renamed or removed.
Import a LUT
Section titled “Import a LUT”Click Import… and choose a file. PxlMonk accepts .cube, .3dl and Hald-CLUT .png
files and converts them all to its canonical .cube format. The import lands in the
selected category.
LUTs are read as being built for sRGB / Rec.709, which is what creative LUTs are made for almost without exception. Your photo is put into that space, run through the LUT and brought back, so a LUT gives you the look it was designed to give. A photo can hold colours more vivid than sRGB can describe — a deep sunset red, a saturated flower — and those come back very slightly less vivid, because the LUT has nothing to say about a colour it was never shown. This is beyond what an ordinary screen displays, so you will rarely see it.
Organize
Section titled “Organize”Drag a LUT to reorder it within a category, or drop it onto a category to move it. Rename a LUT from its right-click menu.
Camera profiles
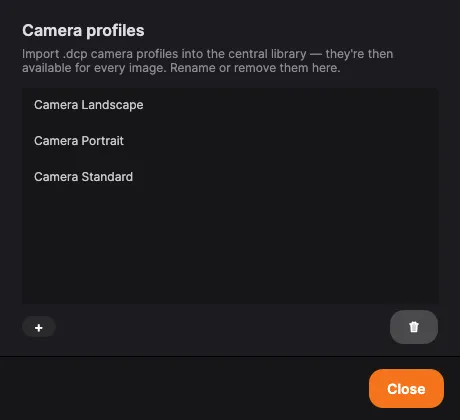
Section titled “Camera profiles”Click Manage camera profiles next to the camera-profile picker to open the library.
Import a profile
Section titled “Import a profile”Click Load… and choose a .dcp file. It’s added to the central library and becomes
available for every image. Only profiles that carry an actual look (hue/saturation and
look tables) are accepted — matrix-only profiles are rejected.
Use & manage
Section titled “Use & manage”Rename or remove profiles from the right-click menu. Once imported, a profile appears in the Develop Camera profile dropdown (alongside None and the image’s Embedded profile), where you apply it and set its strength.
Next steps
Section titled “Next steps”- Gear & profiles — where LUTs and profiles are applied.
- White balance & tone — the Develop panel.